More On Height Maps
Introduction
In this tutorial, our goal is to understand height maps, a method used to generate realistic terrain. Height-maps are easy to use, customizable yet produce impressive terrain:
What we are going to try and achieve
How to do this?
How height-maps work
Understanding height maps is the main objective of this tutorial. A height map is simply a gray-scale texture. Each pixel in the texture maps onto the height of a point on a plane, thus the name height-map. The whiter the pixel the higher the displacement, the darker the lesser the displacement. From the variations of gray within the texture we can map out a terrain. For this example we shall use the following texture:
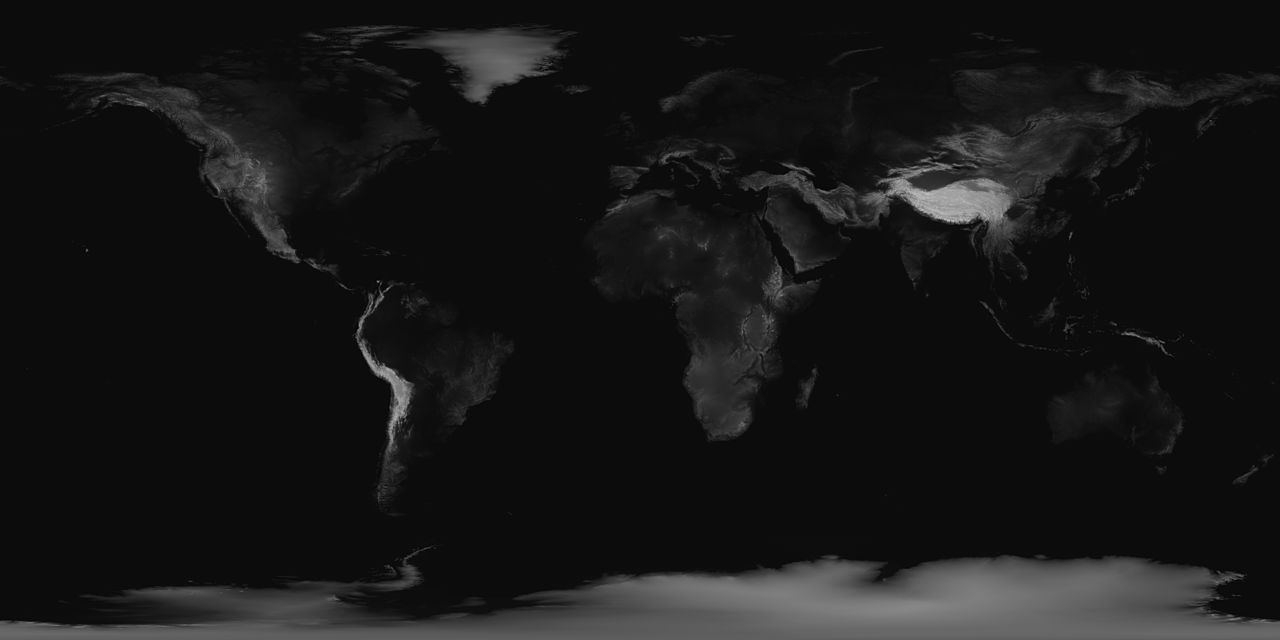
To help you generate height-map textures (like the one above), you can use software such as Terragen, or Picogen (free).
Javascript code
Now let’s see this powerful function named CreateGroundFromHeightMap:
// Create a material with our land texture.let groundMaterial = new BABYLON.StandardMaterial("ground", scene);groundMaterial.diffuseTexture = new BABYLON.Texture("Earth__land.jpg", scene);
// Use CreateGroundFromHeightMap to create a height map of 20 units by 20// And a height of to// units, with 250 subdivisions in each of the `x` and `z` directions, for a// total of 62,500 divisions.const ground = BABYLON.MeshBuilder.CreateGroundFromHeightMap("gdhm", "textures/heightMap.png", {    width: 20, height: 20, subdivisions: 250, maxHeight: 10, minHeight: 2});
// Bind our material to our meshground.material = groundMaterial;
The parameters passed are:
- name: The name of the resulting mesh
- Height-map texture: The URL of the height-map texture.
- options: The options for producing the height-map.
- scene: The scene to append the resulting mesh
- updatable: Boolean to specify if the mesh should be updatable.
- successCallback: Callback that resolves to the successfully produced height-map terrain.
The following are options, third parameter, used to construct the height-mapped plane:
- width: The width of the plane
- height: The height of the plane
- minHeight: Lowest point on the plane
- maxHeight: Highest point on the plane
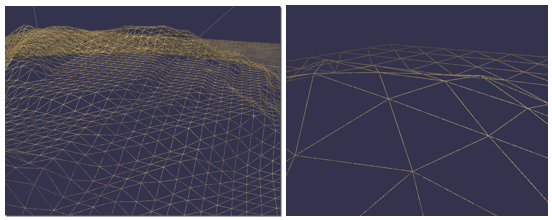
- subdivisions: How detailed should our height-mapped plane be. Higher for higher poly count and therefore better visual quality. As seen below:
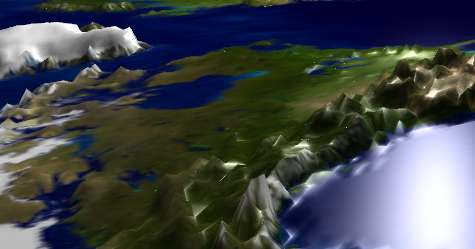
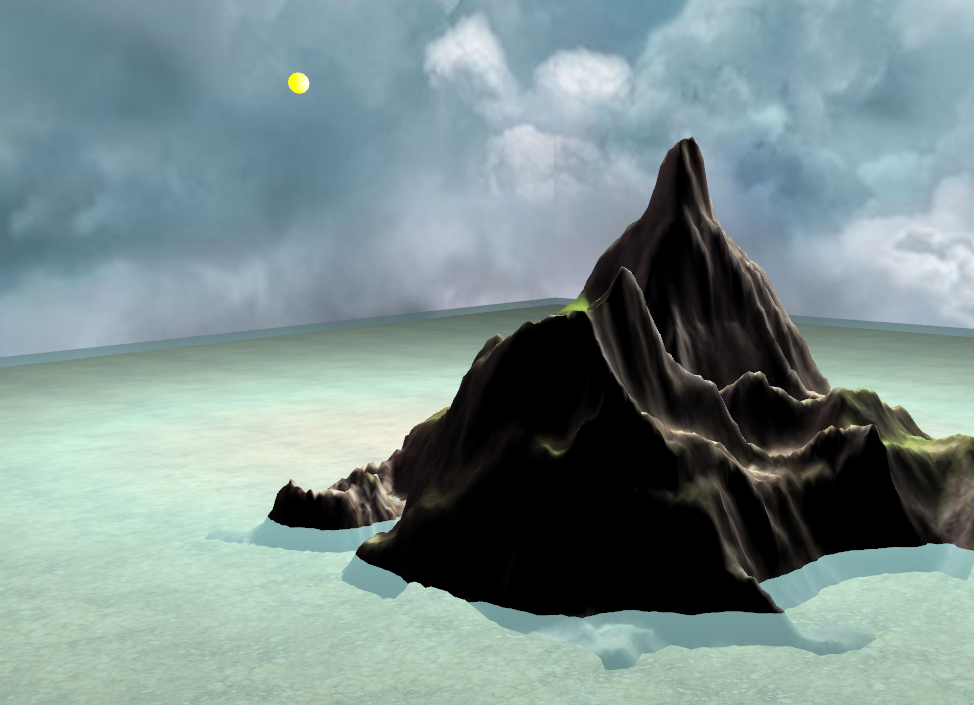
Now we can see a 3d representation of the earth's surface on a plane!
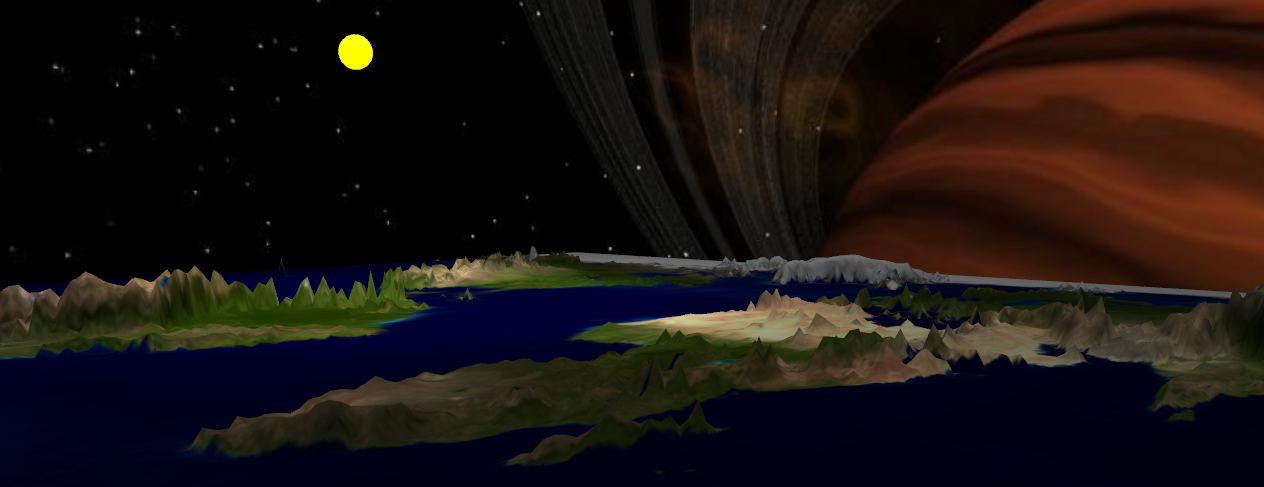
Another example showing basic lighting, height-maps and a skybox in use!
Tips.
If a height-map negatively impacts performance try reducing the subdivisions to reduce the number of polygons on the mesh. For further documentation go here.