Using A Physics Engine
Introduction
Babylon.js has a plugin system for physics engines that enables the user to add physics interactions to the scene objects. Unlike the internal collision system, a physics engine calculates objects' body dynamics and emulates "real-life" interactions between them. So if two objects collide, they will "bounce" off one another, just like you would expect from a real-life object.
The plugin system allows us to use well established physics engines and to integrate them into the render loop. Apart from very advanced usage, there is no need to interact directly with the physics engine. Babylon.js does the work for you.
What physics engine are integrated
There is a plugin for Havok Physics engine.
Read about the the Babylon.js Havok plugin and how to use it directly.
Basic usage
Enabling the physics engine
To enable the physics engine, call the scene's enablePhysics function:
var scene = new BABYLON.Scene(engine);var gravityVector = new BABYLON.Vector3(0, -9.81, 0);var physicsPlugin = new BABYLON.HavokPlugin();scene.enablePhysics(gravityVector, physicsPlugin);Both parameters are optional. The default parameters are shown in the example. This is the same as calling:
scene.enablePhysics();scene.enablePhysics(new BABYLON.Vector3(0, -9.81, 0), new BABYLON.HavokPlugin());Calling this function will create a new PhysicsEngine object that will be in charge of handling the physics interactions.
The physics engine is now enabled and is running during the render loop.
Your first physics scene
Here we present a minimal example of a physics enabled scene, utilizing Aggregates for faster creation:
var createScene = function () {  // This creates a basic Babylon Scene object (non-mesh)  var scene = new BABYLON.Scene(engine);
  // This creates and positions a free camera (non-mesh)  var camera = new BABYLON.FreeCamera("camera1", new BABYLON.Vector3(0, 5, -10), scene);
  // This targets the camera to scene origin  camera.setTarget(BABYLON.Vector3.Zero());
  // This attaches the camera to the canvas  camera.attachControl(canvas, true);
  // This creates a light, aiming 0,1,0 - to the sky (non-mesh)  var light = new BABYLON.HemisphericLight("light", new BABYLON.Vector3(0, 1, 0), scene);
  // Default intensity is 1. Let's dim the light a small amount  light.intensity = 0.7;
  // Our built-in 'sphere' shape.  var sphere = BABYLON.MeshBuilder.CreateSphere("sphere", {diameter: 2, segments: 32}, scene);
  // Move the sphere upward at 4 units  sphere.position.y = 4;
  // Our built-in 'ground' shape.  var ground = BABYLON.MeshBuilder.CreateGround("ground", {width: 10, height: 10}, scene);
  // initialize plugin  var hk = new BABYLON.HavokPlugin();  // enable physics in the scene with a gravity  scene.enablePhysics(new BABYLON.Vector3(0, -9.8, 0), hk);
  // Create a sphere shape and the associated body. Size will be determined automatically.  var sphereAggregate = new BABYLON.PhysicsAggregate(sphere, BABYLON.PhysicsShapeType.SPHERE, { mass: 1, restitution:0.75}, scene);
  // Create a static box shape.  var groundAggregate = new BABYLON.PhysicsAggregate(ground, BABYLON.PhysicsShapeType.BOX, { mass: 0 }, scene);
return scene;};Debugging your scene
Use the physics debug display when your scene and dynamics doesn't behave the way you think it should. It will display geometry the way the physics engine sees the world. There are two ways to invoke the display.
Programmatically
physicsViewer = new BABYLON.Debug.PhysicsViewer();for (const mesh of scene.rootNodes) { if (mesh.physicsBody) { const debugMesh = physicsViewer.showBody(mesh.physicsBody); }}This snippet will create the PhysicsViewer and then will add every PhysicsBody available thanks to the scene meshes.
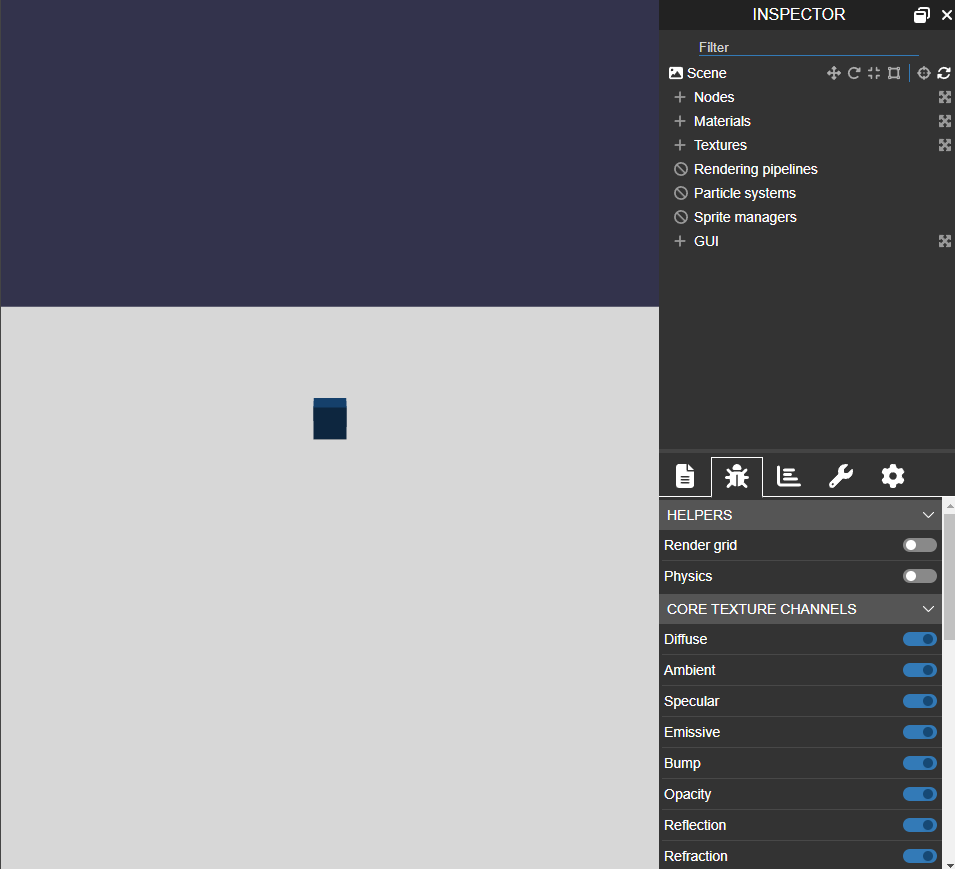
Using the Inspector
You can turn on and off the Physics Viewer on the Debug Tab of the Inspector: