3D for E-Commerce - Viewer in WordPress
Related links: Original Vaporwear site (source, demo), Vaporwear site with 3D (source, demo), asset host.
Note about demos: For most Dev Stories, we try to make the actual usable
product from the Dev Story available for readers to explore directly.
However, the websites in this Dev Story were built using WordPress, which
is complicated (and sometimes costly) to host, so unfortunately we weren't
able to keep these sites live indefinitely. Instead, the demo links
above will direct you to videos showing the sites in action, while the
source links go to zipped files containing the raw files of the
WordPress sites.
High Level Overview
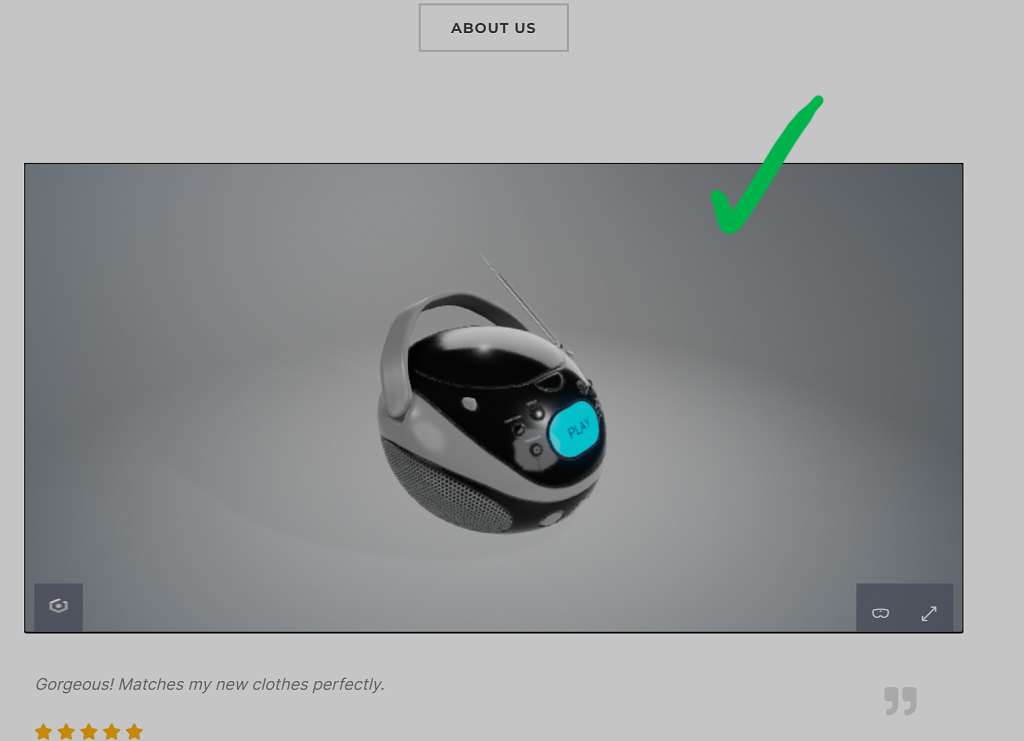
Once upon a time, a guy named Allan owned a company called Vaporwear, which manufactured and sold imaginary smart watches. In order to achieve scale, the Vaporwear company sold most of its products through a traditional e-commerce website built using common tools -- in this case, WordPress. However, Allan had recently heard what fantastic effects adding 3D to an e-commerce website can have on customers; and since his manufacturing partners had provided him with a simple 3D model of the latest Vaporwear smart watch, Allan asked himself, "How can I quickly and easily add 3D to my existing e-commerce site?"
So Allan did some research and found that Babylon.js specifically caters to e-commerce scenarios by including Khronos 3D Commerce conformant rendering as a core offering. (This certification ensures that 3D rendering will be consistent so that models always look the way site owners and customers expect them to.) Furthermore, Babylon.js provides a Viewer that makes it easy to add 3D to an existing site using only HTML-style code. So Allan consulted with his Web developer Barnabas, and the two of them figured out how they would add 3D to the Vaporwear e-commerce website -- in right around an hour.
- First, they'd spend about ten minutes adding the default viewer into their WordPress site.
- Next, they spent at most half an hour getting their 3D model hosted online using an asset host from Babylon's Template Repository Workflow.
- Finally, they reconfigured the default viewer to display their Vaporwear 3D model, disabling the features they didn't need and ensuring the viewer was using Khronos 3D Commerce-conformant rendering. With a little help from the Community on the Babylon.js forum, they spent about twenty minutes getting this configured the way they wanted.
And that is how Allan and Barnabas added 3D to the existing Vaporwear e-commerce site in right around an hour. While their site used WordPress, the same basic procedure could be used to add 3D to sites built on a wide variety of platforms; all that's needed is the ability to add a script and a little HTML-style code.
A More Step-by-Step Journey Through the Process
Adding the Babylon Viewer to the Existing Site
Though Barnabas was quite experienced with WordPress, he'd never added 3D to an existing site before, so the first thing he wanted to do was make sure he coul get at least something rendering on the site in 3D. After finding the Viewer Examples in the Babylon.js docs, Barnabas decided to just grab the code from there and add it directly to his WordPress site.
-
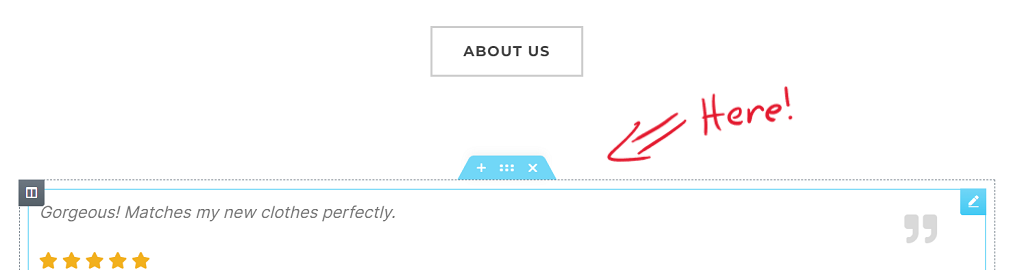
First, he picked where on his WordPress site page the 3D content should go.
-
He then added a new section...

-
...made it full-width...

-
...and added an HTML block to the new section.
-
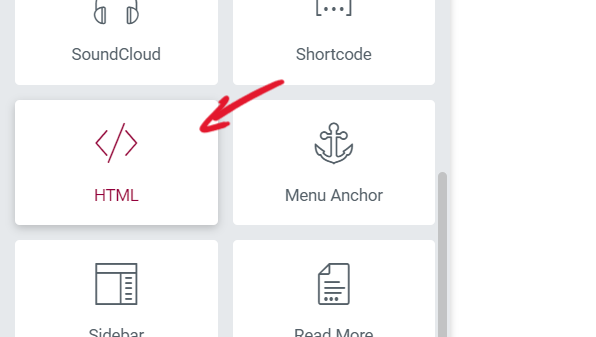
Next, in preparation for adding his own HTML, Barnabas added a new
divto help keep things clearly grouped.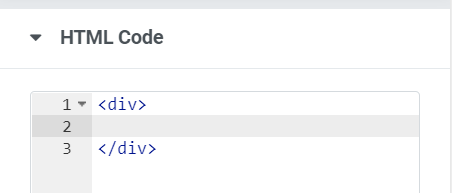
-
Within this
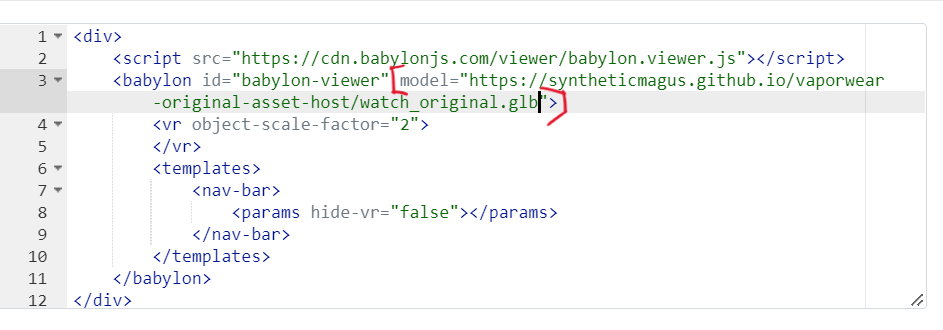
div, he added thescripttag he'd found in the Babylon Viewer docs to import the Viewer so he could use it on his page.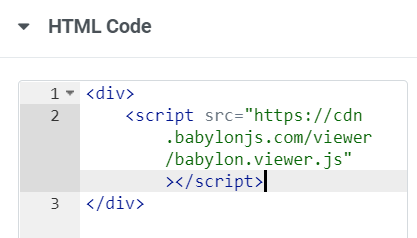
-
Immediately after this, he copy-pasted in the
babylontag code from the "basic usage" Viewer example.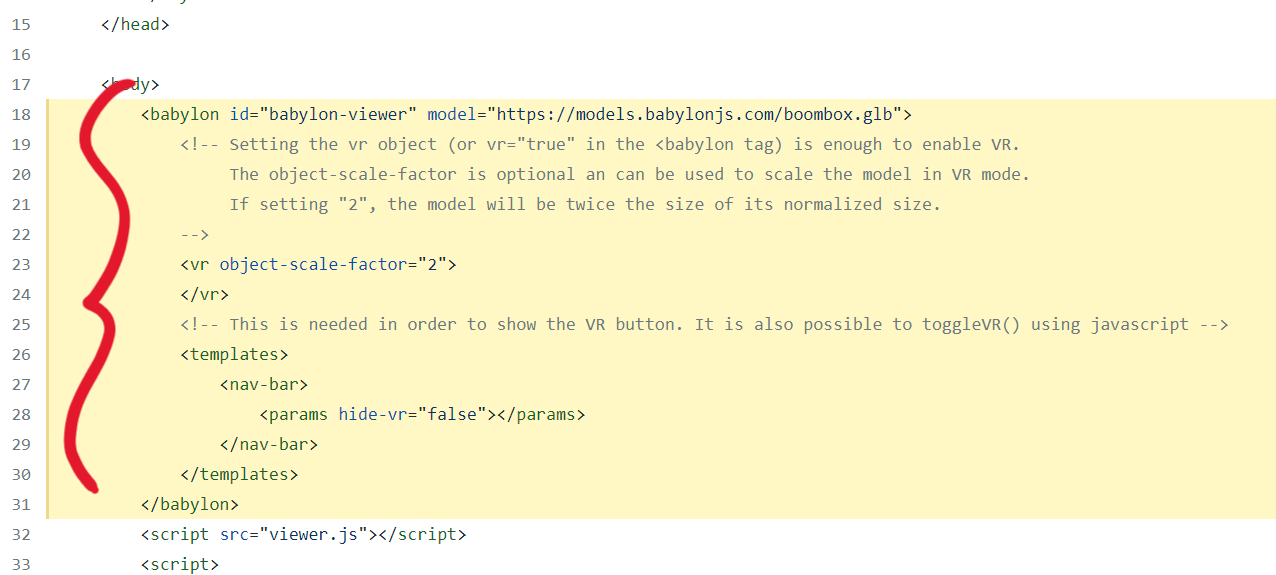
-
With that code pasted into his HTML block, all he had to do was tell WordPress to update the page...
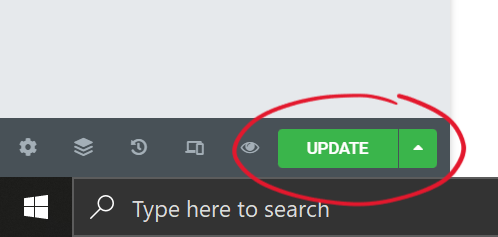
-
...and then view the page outside of editing mode to see the results.
And, just like that, there was a 3D model rendering on the Vaporwear home page! Now to make it the right 3D model...
Creating an Asset Host Repo
WordPress provides some out-of-the-box support for media files, but it tends to be bespoke and focuses heavily on images and video. Barnabas briefly considered trying to finesse the situation, but ultimately he decided it would be simpler to let WordPress focus on traditional media and use one of Babylon's recommended "asset host" repositories to serve his 3D model.
-
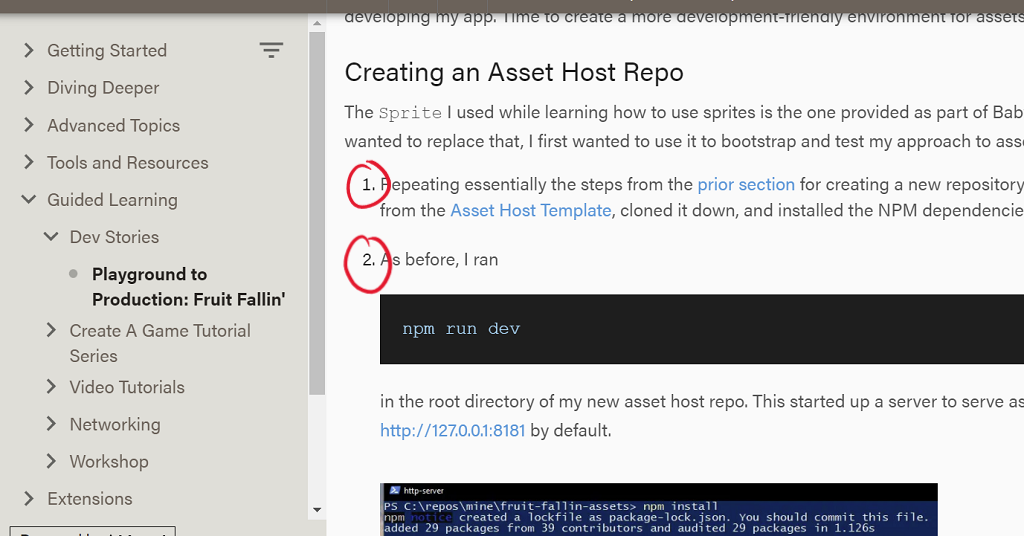
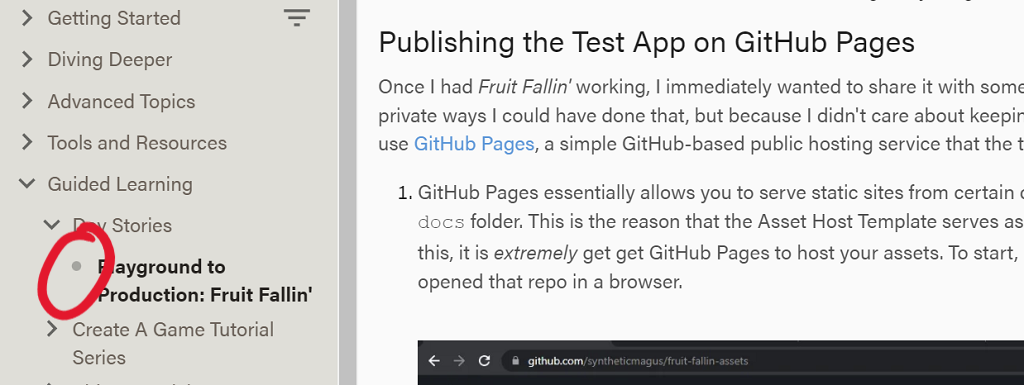
To create the asset host itself, he followed the first two steps from the "Creating an Asset Host Repo" section of a Dev Story he found in the Babylon.js docs.
-
Once the asset host was created, he placed a copy of his 3D model into the
docsfolder.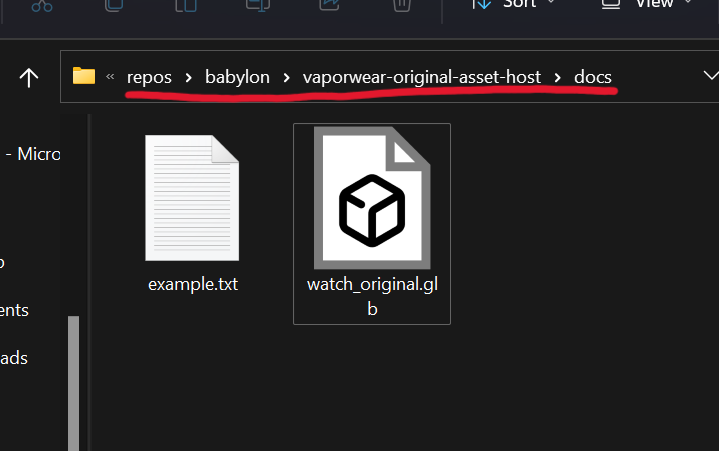
-
To double-check that his asset host was serving the model properly (and to see the model rendering in Babylon.js), he decided to render the model from his asset host server in the 3D Commerce-conformant version of the Babylon.js Sandbox. He'd seen in a Dev Story that the Babylon.js Sandbox has an
assetUrlparameter that can be provided to cause it to automatically load an asset, so he tried that with his model from his local asset host.https://3dcommerce.babylonjs.com/?assetUrl=http://127.0.0.1:8181/watch_original.glb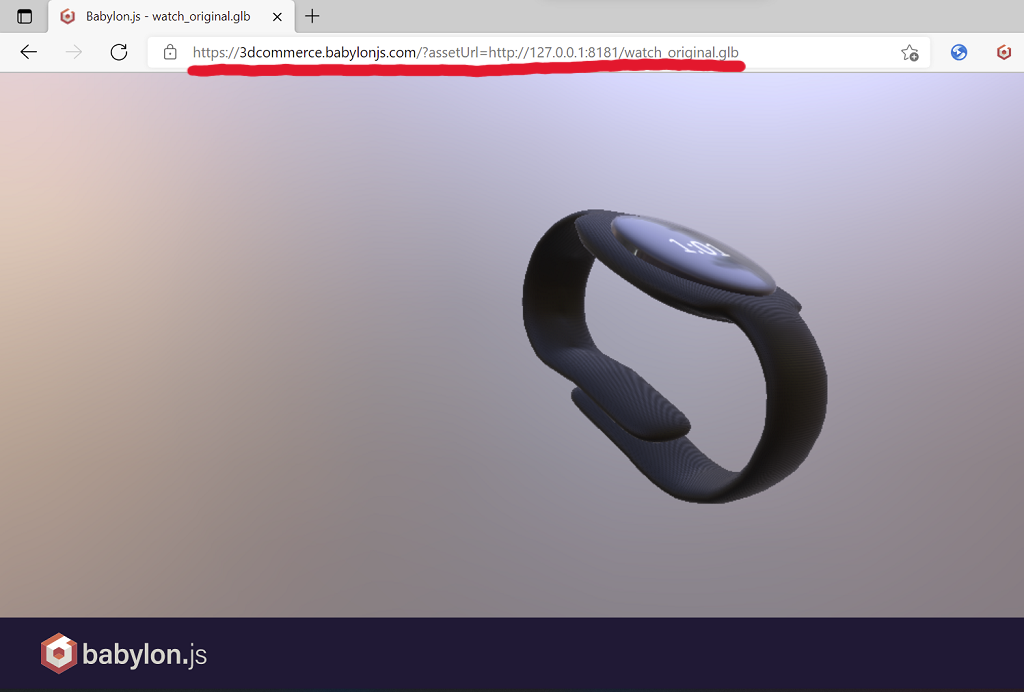
-
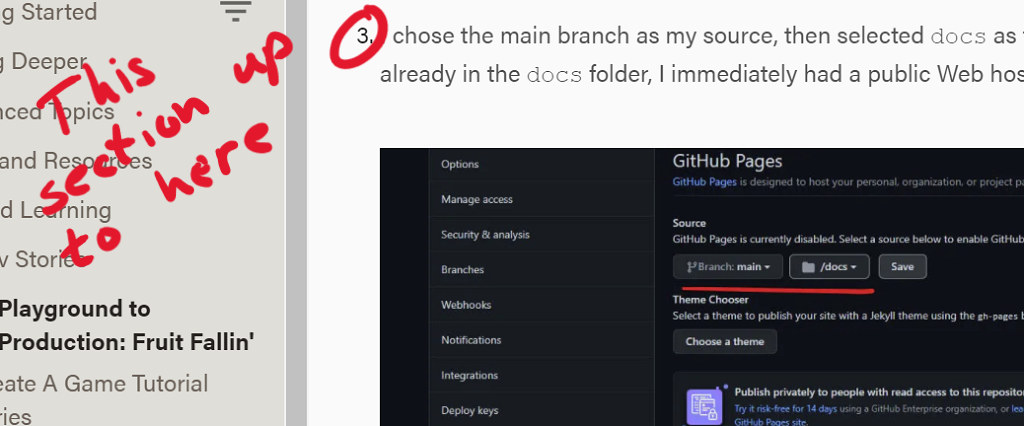
With that working, he needed to publish the asset host so that he'd be able to access the model from anywhere, so he pushed it up to GitHub Pages by following steps 1, 2, and 3 of the "Publishing" section of the Fruit Fallin' Dev Story.
-
Once GitHub Pages confirmed that his asset host was live, he grabbed the link to the live site...
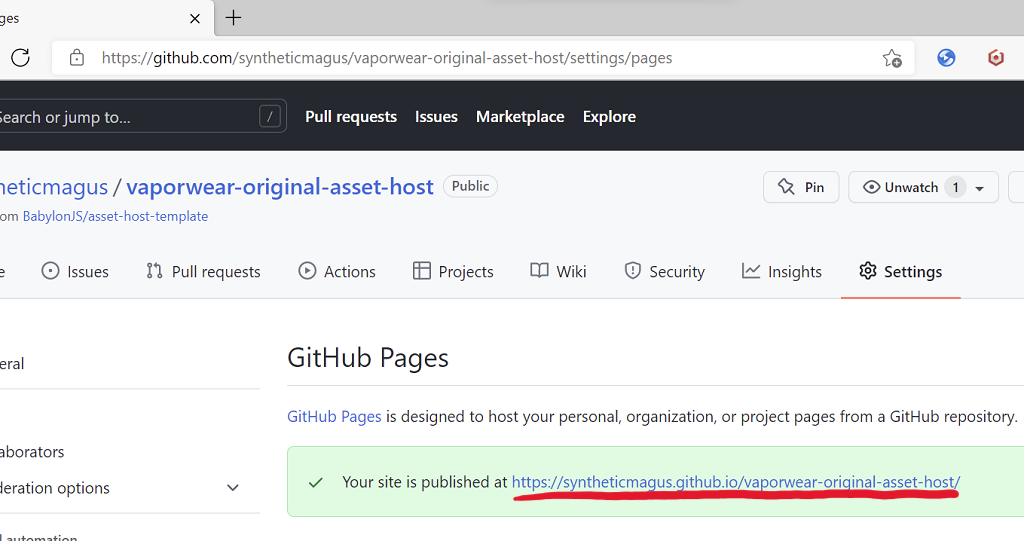
-
...and used it (with his model's name appended) to create a new Sandbox link to load his model from his own asset host.
https://3dcommerce.babylonjs.com/?assetUrl=https://syntheticmagus.github.io/vaporwear-original-asset-host/watch_original.glb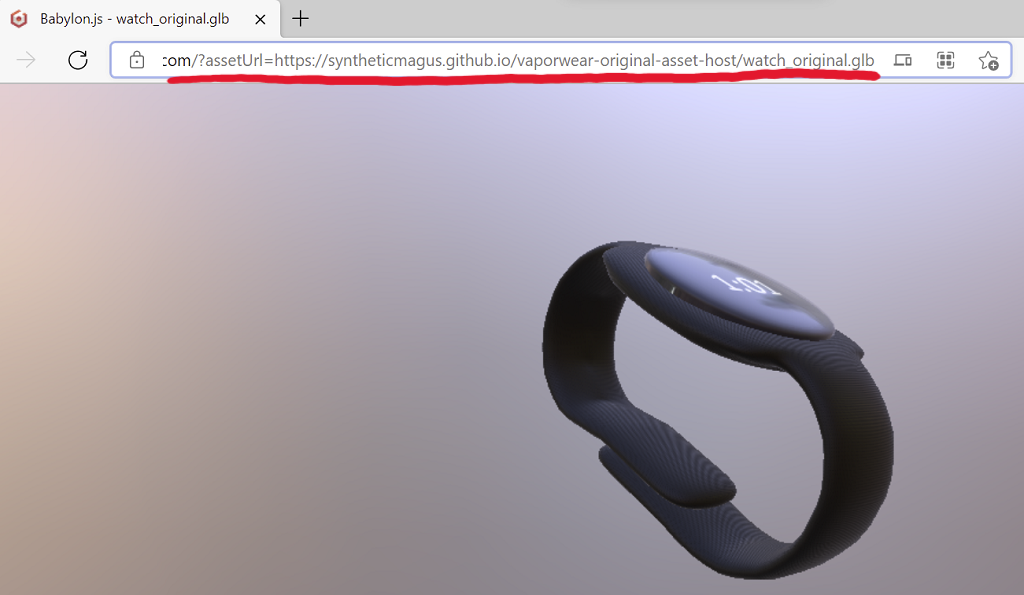
Finally, with his model hosted and accessible from the Web, it was time to render it on the Vaporwear WordPress site.
Configuring the Babylon Viewer
-
Strictly speaking, just getting the model to render in the Vaporwear site's Babylon Viewer was as simple as changing the URL provided for the model.
-
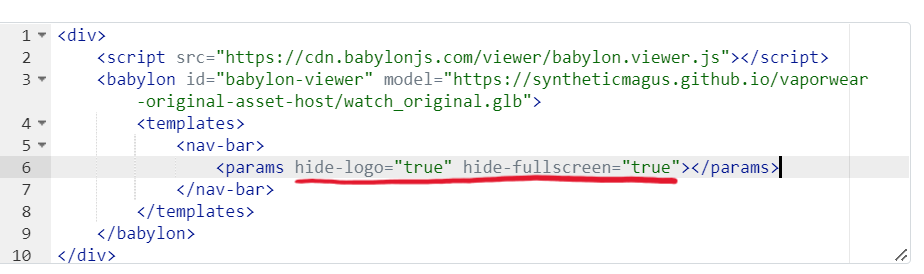
However, Barnabas knew the Babylon Viewer is highly configurable, so he decided to tweak a few things about its appearance to make it look just right for Vaporwear. First, he removed the leftover code from the sample adding VR support. (He also cleaned up a lot of copied-over comments he didn't need anymore.) Since thee Vaporwear site was targeting a very clean presentation bordering on minimalism, he decided to also remove the logo and fullscreen UI from the nav bar.
-
Lastly, he wanted to make sure the model was rendered using the Khronos 3D Commerce certified settings so that he could be sure it would look exactly the same as he'd seen it in the Sandbox earlier. The Babylon Viewer supports this using a
3d-commerce-certifiedflag, available from Babylon 5.0 onward. However, since Barnabas was doing this during the leadup to the 5.0 release, he needed to switch to using the Viewer script from the "preview" CDN in order to get the latest hot-off-the-presses featuers.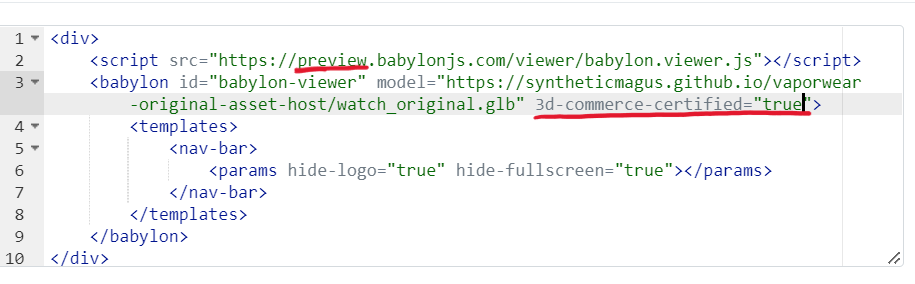
-
He then updated the page in WordPress, switched to viewing instead of editing, and...
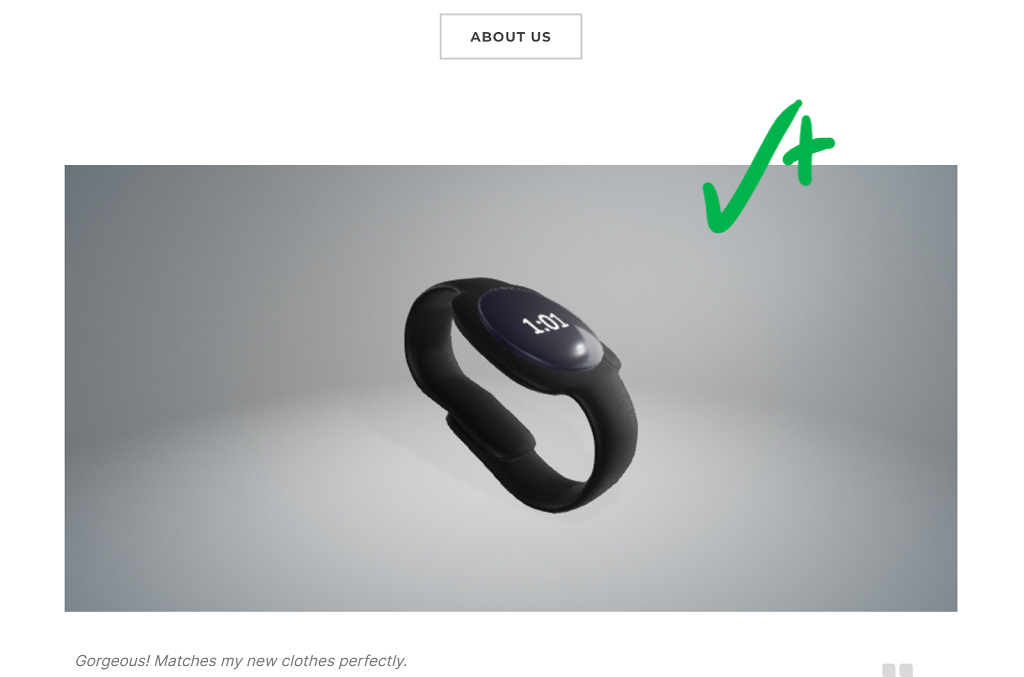
The addition of 3D product rendering added a whole new distinguishing feature to the Vaporwear e-commerce site, breathing new life into the design they already had. However, with the growing success of the Vaporwear business, Allan and Barnabas had already been discussing upgrading the site to a new and more modern technology stack; and after seeing the Babylon Viewer on the original Vaporwear site, they started to wonder what it would look like to have an e-commerce site that leveraged 3D as a flagship feature built into the site's design. Allan spent a little time browsing the Babylon forum looking for ideas, where he found a community-made Babylon Utility that excited him so much that he decided to make it the backbone of the most slick and sophisticated viewer/configurator experience he and Barnabas could come up with.
But that is a topic for another Dev Story.
-syntheticmagus